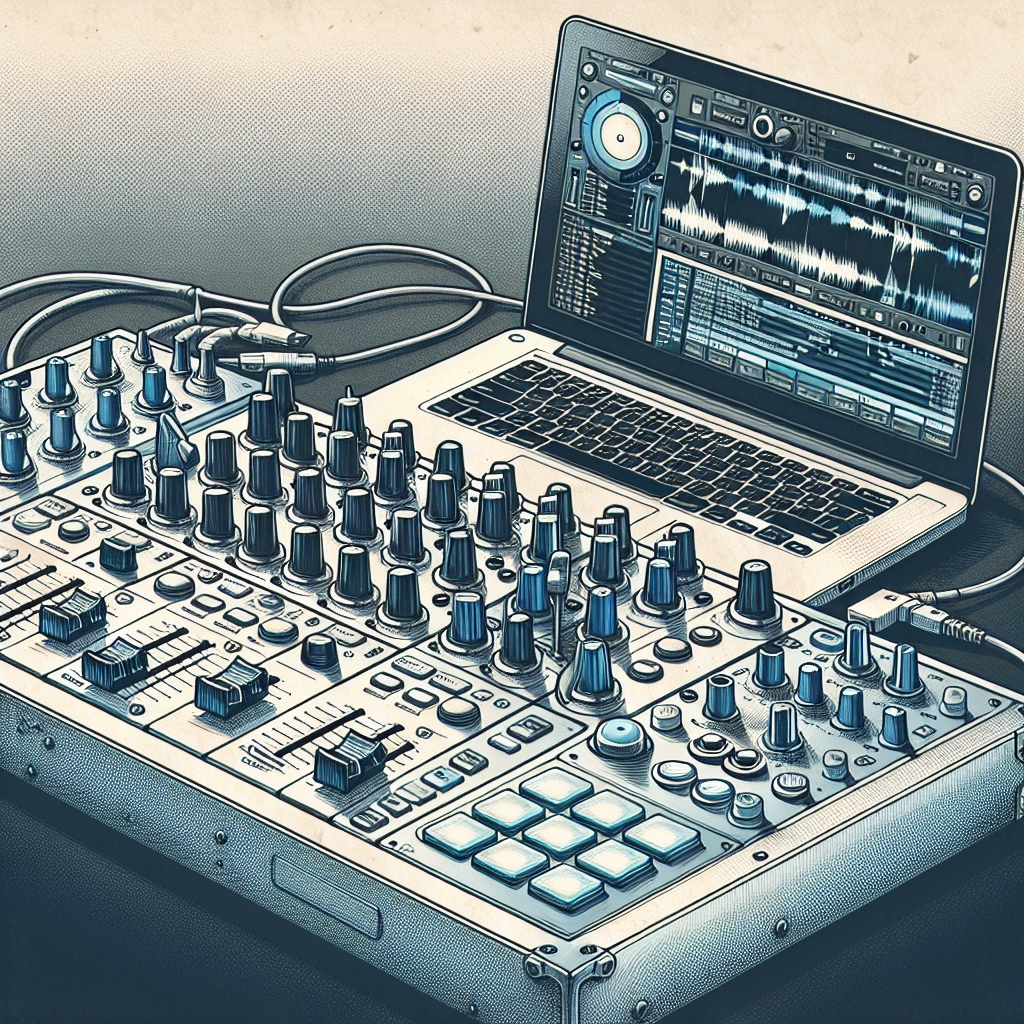
For aspiring and professional DJs, connecting a DJ mixer to a laptop is essential for creating high-quality mixes, performing live, and recording sets. This guide will walk you through the steps to successfully connect your DJ mixer to a laptop, ensuring a smooth and efficient setup.
Requirements
Before diving into the connection process, ensure you have the necessary equipment and software:
- DJ Mixer: Make sure your DJ mixer has the necessary output ports.
- Laptop: Be it a Windows PC or a MacBook, make sure it meets the software requirements.
- Audio Interface or Sound Card: Often required for better audio quality.
- DJ Software: Software like Serato DJ, Virtual DJ, or Traktor.
- Cables: RCA, USB, or XLR cables needed for the connection.
Step-by-Step Guide
1. Install DJ Software
The first step is to install your preferred DJ software on your laptop. Popular choices include Serato DJ, Traktor, and Virtual DJ. Ensure that the software is compatible with your laptop’s operating system.
2. Set Up Your DJ Mixer
Place your DJ mixer in a comfortable working space. Ensure it is near enough to your laptop so that all necessary connections can be made easily.
3. Connect Your DJ Mixer to the Audio Interface
Most professional DJs use an external audio interface or sound card to achieve better sound quality. Connect the main output of the DJ mixer to the input channels of the audio interface using RCA cables.
Example Connection: RCA Cables
| DJ Mixer Output | Audio Interface Input |
|---|---|
| Left Channel (L) | Input 1 (L) |
| Right Channel (R) | Input 2 (R) |
4. Connect the Audio Interface to the Laptop
Once the DJ mixer is connected to the audio interface, the next step is to connect the audio interface to your laptop. Use a USB cable for this connection. Ensure that your laptop recognizes the audio interface device.
5. Configure Your DJ Software
Open your DJ software and navigate to the audio settings. Select the audio interface as the primary sound device. This step ensures that your DJ software directs audio output through the audio interface, connected to your DJ mixer.
6. Test the Connection
Before starting your performance or recording, test the connection to ensure everything is working correctly. Play a track through your DJ software and see if the audio flows through the mixer and audio interface smoothly. Adjust the volume and ensure no latency issues are present.
Troubleshooting Common Issues
1. No Sound Output
Check all cable connections, ensure the DJ mixer is powered on, and verify that your software is correctly configured to use the audio interface.
2. Latency Issues
Latency can disrupt your performance. Adjust the buffer size in your DJ software’s audio settings, or ensure your audio interface drivers are up to date.
3. Compatibility Problems
If your DJ software or audio interface is not recognized, check for firmware updates or consider using a different software that is compatible with your hardware.
Conclusion
Connecting a DJ mixer to a laptop can seem daunting at first, but with the right equipment and steps, it becomes a straightforward task. Ensure you have the proper cables and software, and follow the outlined steps for a seamless setup. Whether you are an aspiring DJ or a seasoned professional, a well-connected setup ensures high-quality mixes and performances.