Introduction
Viber is a popular messaging app that allows users to send text messages, make voice calls, and share multimedia. Sometimes, you might need to log out of Viber for various reasons, such as privacy concerns or switching accounts. If you are using an iPhone or iPad, logging out of Viber may not be as straightforward as it is on some other devices. In this guide, we will walk you through the steps to log out of Viber on your iOS device.
Why Log Out of Viber?
- Privacy: Ensures that your personal messages and calls remain secure when you are not using the app.
- Switching Accounts: Allows you to log into a different Viber account if necessary.
- Reducing Distractions: Helps in managing notifications and focusing on other tasks.
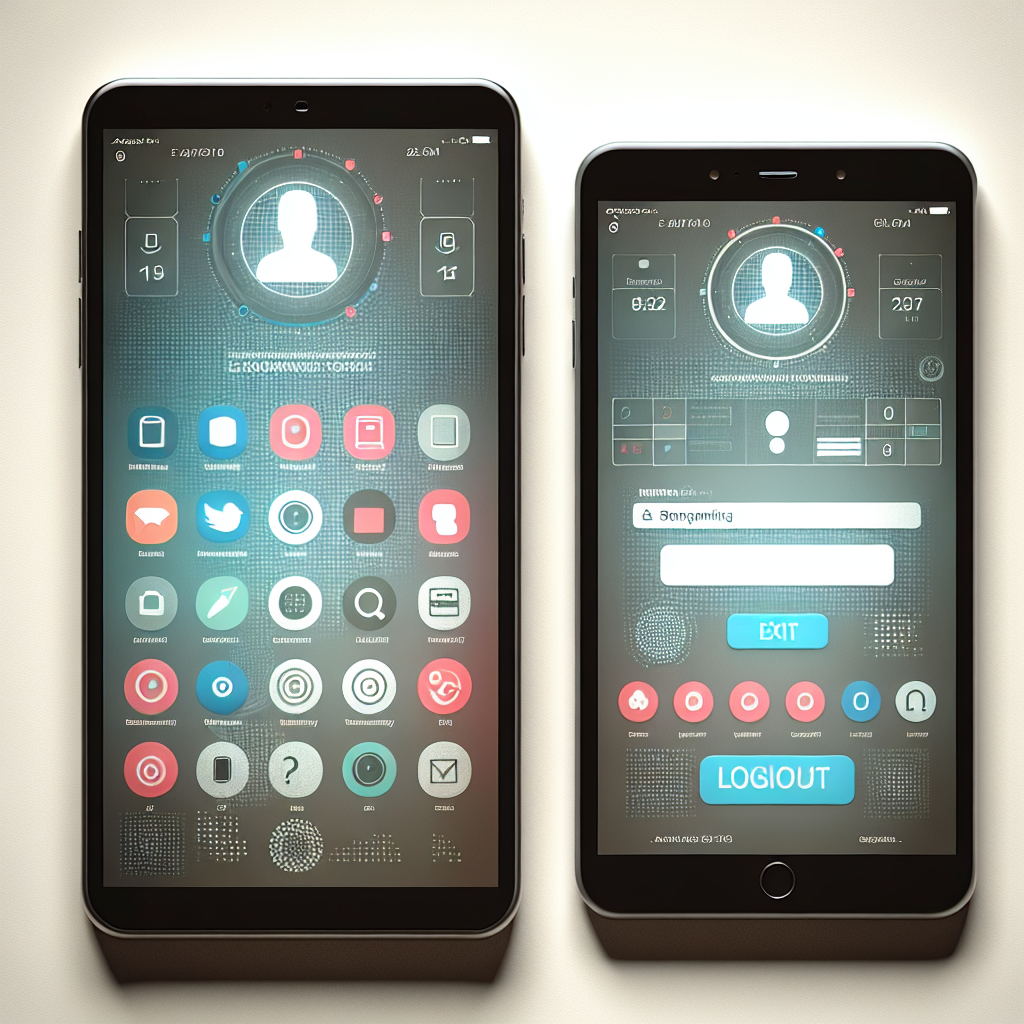
Steps to Log Out of Viber on iPhone or iPad
Step 1: Backup Your Data
Before logging out, it’s essential to back up your data to avoid losing important messages and media. Follow these steps:
- Open Viber on your iPhone or iPad.
- Go to More > Settings > Account.
- Select Viber Backup.
- Tap on Back Up Now.
Step 2: Deactivate Your Account
Unlike other apps, Viber does not have a direct log-out option. Instead, you need to deactivate your account temporarily. Here’s how:
- Go to More > Settings.
- Select Privacy.
- Tap on Deactivate Account.
- Confirm by tapping Deactivate. Note that deactivating your account will delete your call and message history from the device.
Reactivating Your Viber Account
Once you are ready to use Viber again, simply open the app and follow the on-screen instructions to reactivate your account. You can restore your backed-up data during this process.
Conclusion
Logging out of Viber on an iPhone or iPad involves deactivating your account. By following the steps outlined in this guide, you can easily manage your Viber account, ensuring your privacy and flexibility. Remember to back up your data before deactivation to prevent data loss.
| Steps | Action |
|---|---|
| 1 | Backup Your Data |
| 2 | Deactivate Your Account |